As noted in the prior post, I opted to complete the rear
locking diff install at the same time as I did the front. Jumping between the
two when parts / time permits. I completed the front relatively quickly, along
with compressor and other bits, as these were comparatively easy jobs. The rear
diff was more involved, and as such I’ve only just completed it. As with all
things in life, it’s easy when you know how, unfortunately I don’t have a clue!
You may note that this diff is being installed into an axle
that is not fitted to the Defender, which having just finished it I’m glad of
as this would have been a complete nightmare to do if fitted!
The reason the axle is off is because this is another axle,
new to me. I brought this as I noted an error in my welding of the brackets to
the other Sailsbury, which meant the axle did not sit square with the chassis.
Resulting in a crabbing vehicle. Making it more of a challenge to drive, and
near impossible to align all the wheels, again adding to the drive-ability. So this
was brought, cleaned and painted, stored ready for fitment. The idea is I’ll
pull everything off the old(ish) axle from the stub axle and stick on the newer
axle which is still relatively new.
So here it is, the new axle ready to have it’s transplant. Unfortunately,
it’s taken a bit of beating in my garage so the paint needs a refresh.

And here is the shiny new ARB Air Locker with the install
kit.

There are a few special tools that the manual, both LR and
ARB, advise are needed. And not only are these hard to get but also expensive when
you can find them. To combat this, I’ve opted to make my own. These are diff
spreader, pinion flange brace, DTI holder, and precision height gauge.
First up I made the diff spreader. The LR part for this is
really hard to find, the ARB version is over £300. The idea with this part is
that it pulls the diff apart by 0.5mm to ease the install of the diff into the
case.
This was made up of a steel plate either side to act as the
spreading structure.

Made up with brackets to support threaded rod to spread the
diff. The plates were drilled to allow citing bolts – these bolts do not take
the horizontal load but stop the plates from rising up under load. Lugs were
welded into the bottom to fit into the spreading holes within the diff housing.


I left the bolts used to create the lugs long and used a
welded nut to mount them, this enabled a bit of adjustability. Once the correct
depth was determined these were welded into place, and the frame stamped to
indicate direction of use.


This is the frame with all parts fitted and ready to use. I
went a bit overboard on the treaded rod size, but it make it easy to spread the
diff.

The first job was to measure the existing backlash for future
records.

Then the diff was spread (spreader working very well), and
diff removed.


Now the new diff was assembled and ready to fit, I started
making the next tool, Pinion flange brace. This was just a section of angle
with bolts welded into it to hold the pinion flange while the nut was undone.


Once that was made the pinion was removed, and the old
bearing race removed also. Allowing the new bearing to be installed.


The pinion was then reinstalled using the correct shim value. Which was
obtained by using the last two special tools. Precision height gauge, which for
a Salisbury is 30.93mm. I had this made by a small engineering firm as they could
get the required tolerance. The other was the DTI holder.

This process involved using a flat plate and the gauge block
to get zero and then measuring the bearing race cups from a DTI that mounted to
the pinion gear, splitting the difference and determining shim value. This took
a lot of messing around, so I ground down the older bearing race so that the
new race did not need to be fitted and removed multiple times, as this is a
very tight fit. The ground down race dropped in and out with issue.
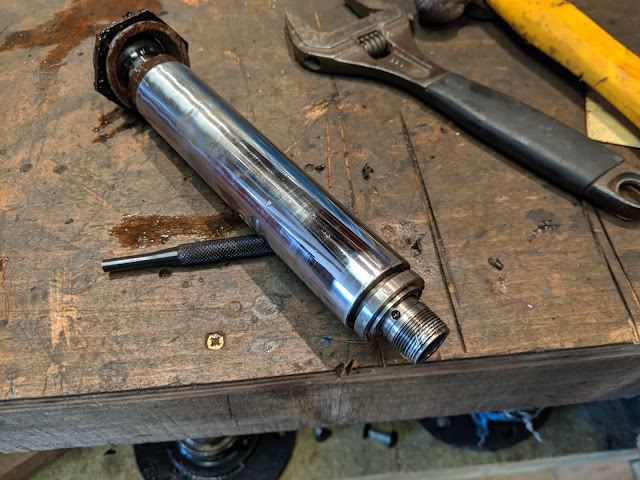
Pinion now in.

Then the pinion was covered over with cloth, and the new
hole in the diff case for the airline was made.

The shim and backlash calculations were made as advised in
the ARB instructions and the diff fitted. Airline bent into place.

The last few steps above made the fitting of the diff sound
quick and easy, but the reality was far from it, there was a long time of fitting,
removing, working out shims that went into the above. Coupled with other jobs,
limited time on this, the whole process ran into months. I consulted forums and
got good advice, such as only use genuine Timken bearings. And retracing the
process from the start revealed a small mistake that caused issues later on. But
nether the less it’s in.
Then I repainted it to make good to the damage that
occurred during this time, and added the final fittings ready to be mounted.


Next step was to start the swap, firstly by removing the
old(er) axle.
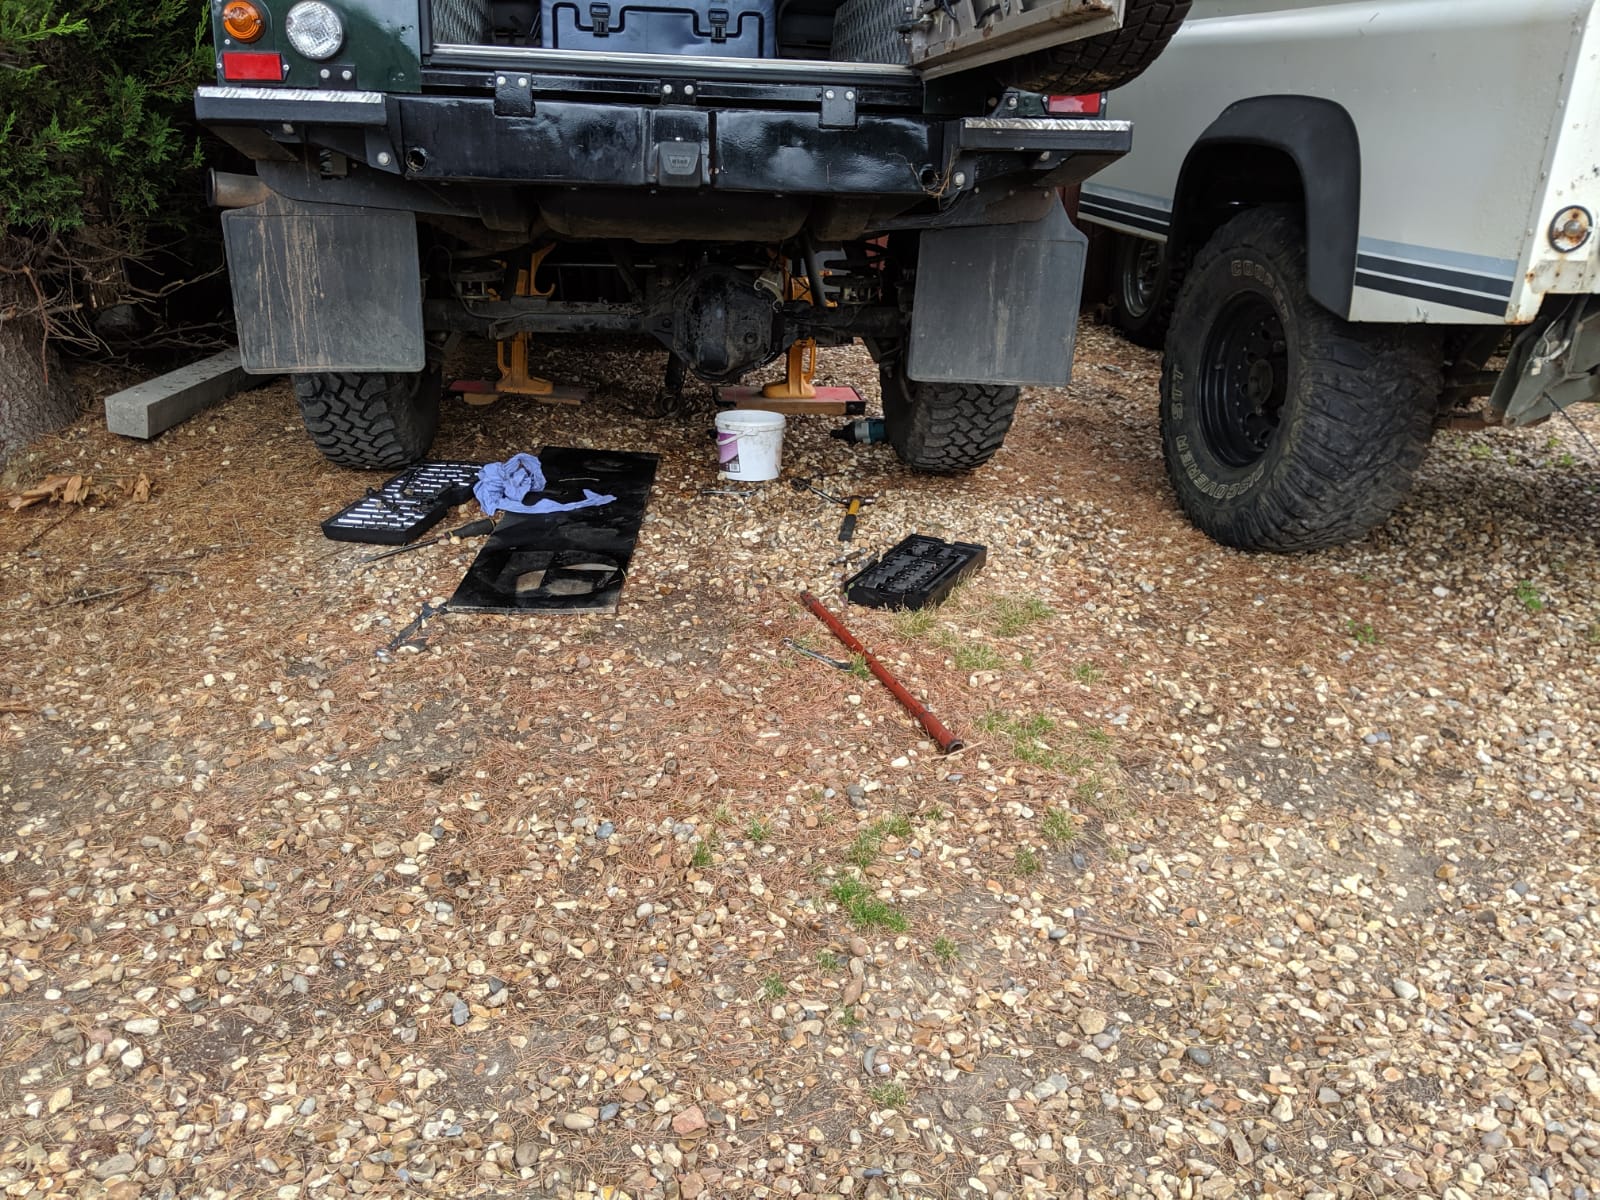
Bit of a crappy job, rolling on the floor, undoing rusty
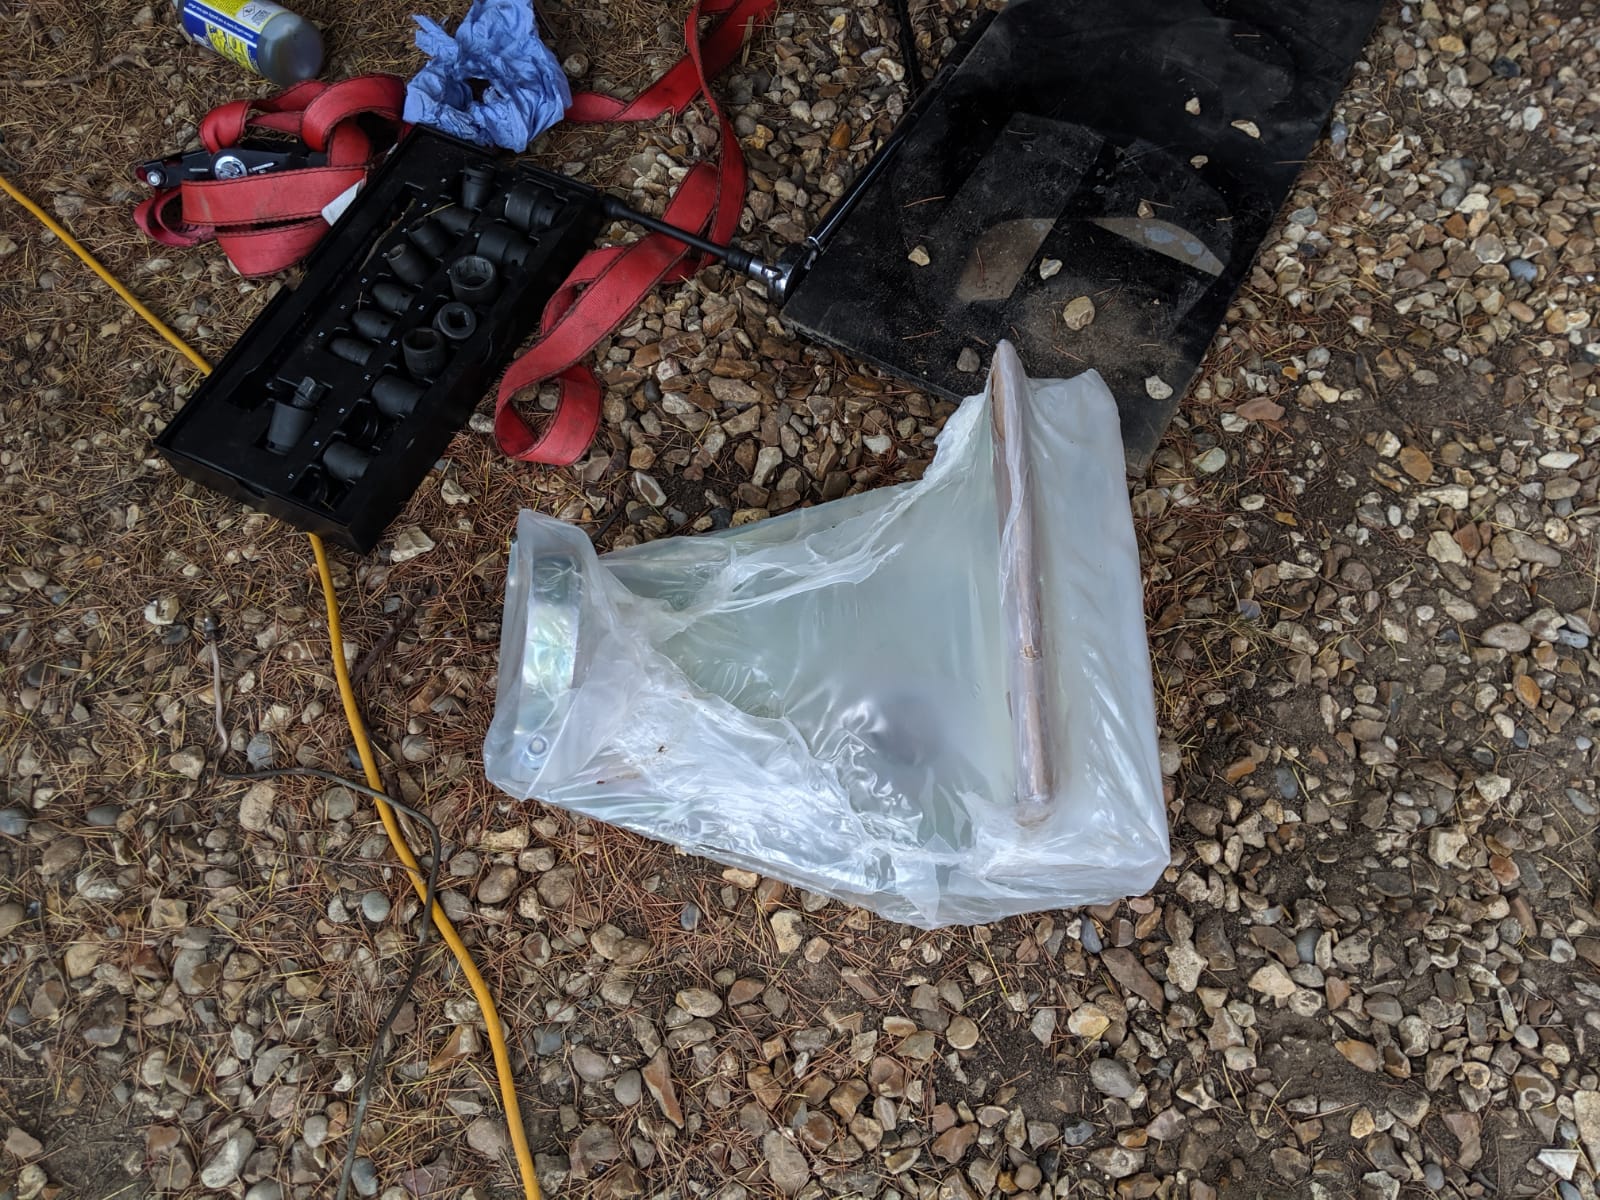
nuts under a propped vehicle. But went well with the exception of the self-levelling
unit, which spilt in two and poured oil all over me. Seems the internal bar that
goes through the centre has damaged thread. Another small issue was that a brake pipe fitting ceased
and twisted the brake line, so this will need to be re-made.


Then I started to remove the components from the old axle.

And on to the new. At this point I also fitted the Ashcroft half shafts and drive flanges.

And repeat for the other side.


A rolling axle!

The axle was then rolled under the vehicle, springs and shocks
connected. I also bolted into place the new trailing arms. I decided to switch the
X-arms as these look to be a good products.

Once both arms were fitted I moved on to the a frame, minus the self leveller. Looking around on the net, the general consensus is to remove the self leveller permanent once it's failed and fit stiffer springs, or the 130 spring assisters. The springs I brought were intermediates so I'll run with these and either try and repair and fit the self leveller, or fit spring helpers if needed. The new brake line was made up
and both sides fitted.

I also had some more goodies to fit. New diff slider, and an
X-Deflect anti roll bar system. I did consider the ARB / D44 weld on pan, but thought this was a bit extreme for what I intend the Defender to be sued for, and the sliders are a good compromise. Similarly the X-Deflect will hopefully make the Defender a lot nicer to drive on the road, lifted with bigger tyre can make it a hand full sometimes.

Diff slider in.

And then the X-deflect in.


Job done! This bit has been in the making for some time, so
it’s good to have it done. Now… what to do next?