Saturday 28 July 2018

Odd Jobs Complete During Down Time

So while the axle works were underway I took care of some jobs I’d either started and not finished or just had on a list to do but never got to.


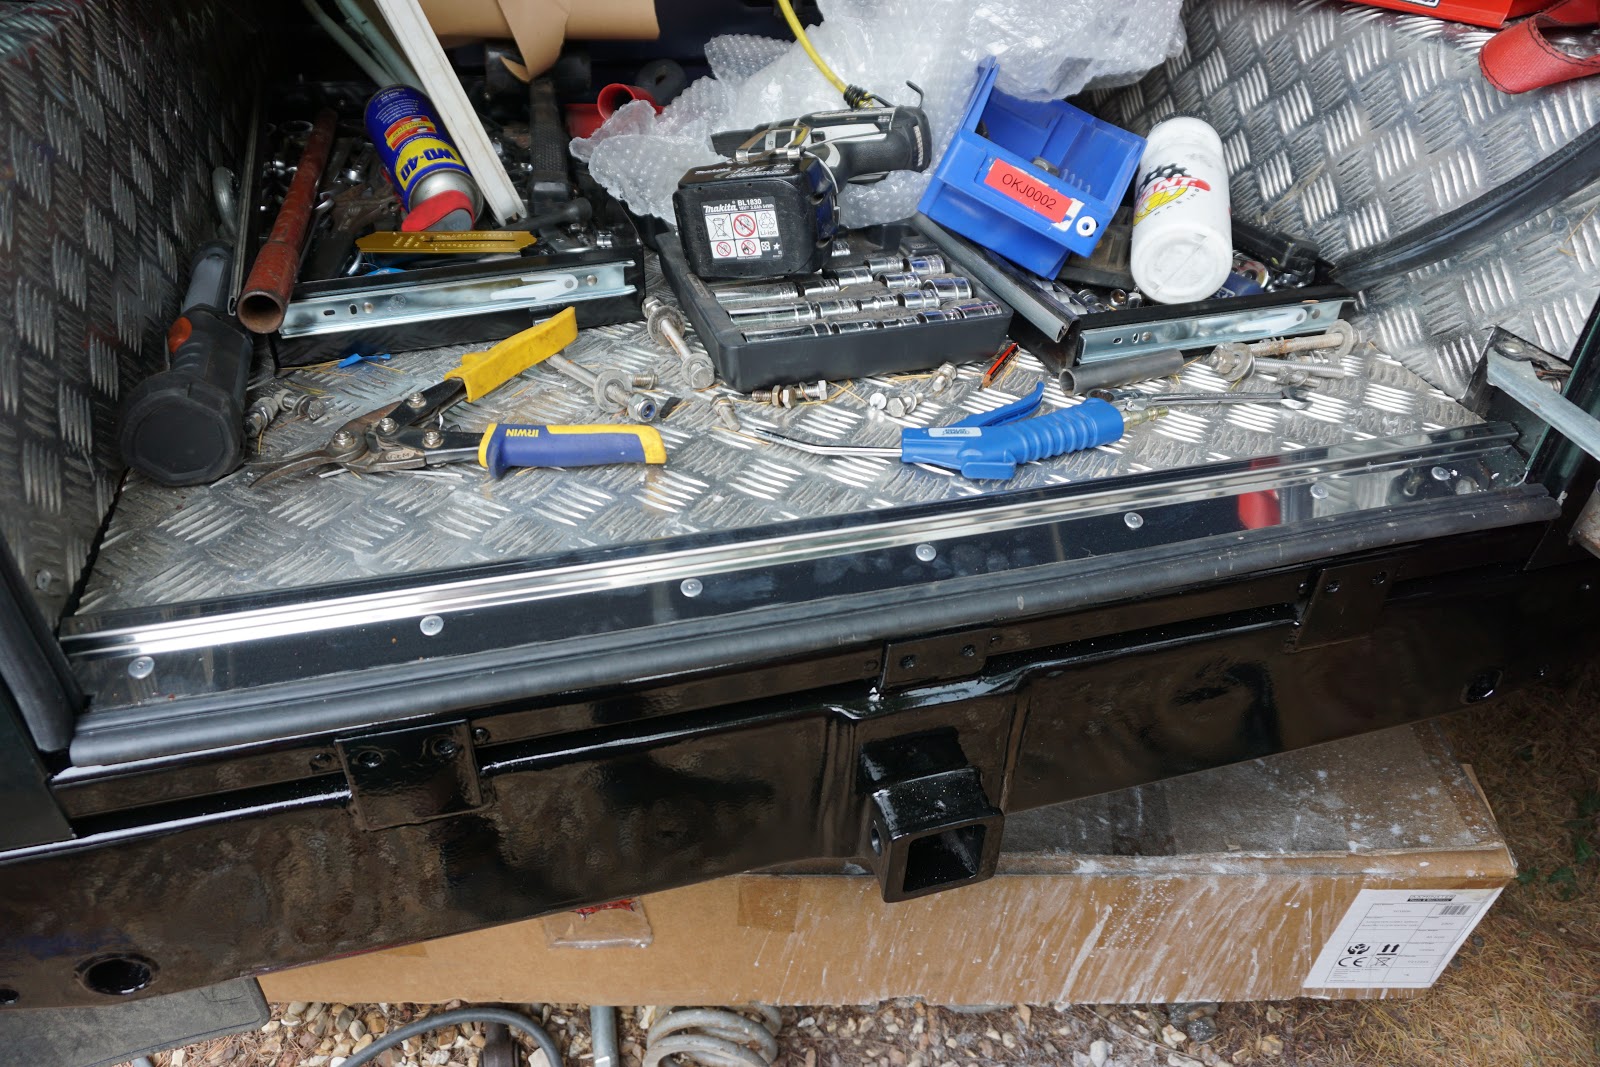
Firstly installing a trim to the rear tub that holds the seal in place. The trim came from YRM, nice stainless item. The only snag I had was that the trim is designed to be installed on to a flat tub with a build up of just carpet or rubber mat, so as per my build up which is sound deadening mat and checker plate. This has meant the trim is at an angle, but it looks and works fine so all good.


The other job was to install a locking latch into the battery box cover. This latch.


So the cover was cut to be able to get in and out of the hole, as it would no longer be able to slide in and out as before. Then tabs were welded onto the back section to prevent the rear from lifting. A hole cut for the latch.


At this point the main panel is read for painting, which will take place a bit latter when I have a few parts to do, photos of the finished item will be included in part two. Then the seat box needed to be modify to ensure the latch engaged snugly and it didn’t flap around. For this I welded two section of angle together to get the right dimensions, and riveted it into place.


As part of these works I discovered (may have been around ages, who knew) (edit: in fact, I have already tried a rust remover gel when I first started, with somewhat poor results) a product that claims to be a rust remover. So I will be testing these as part of this. Firstly the branded version - Evapo-Rust


And the Frost home brand rust remover.


So this rust removing liquid, if you believe the hype removes rust, and the longer you leave items soaking the more hard-core the rust can be - I’m sceptical and best. And at this point I would say this stuff it REALLY expensive. So £25 will get you 3.75L (US Gallon) or 5L of the home brand. And when you think about what you need it to do - submerge the whole item - that’s a lot! There is a Gel, which will “stick” to the part to do the same things, some say you can add water, and they all say they are re-useable. But I will touch on these at the end. For this I will be testing the products on the callipers - control subject. One side per product. And the stub axles, as these are chromed items, that if I wire brushed them, wouldn’t fare so well, plus a few random bits. The willing test subjects:


Here we go…..


After 24hrs.


I must say, I’m impressed. It's safely remove a vast majority of the rust. This would have been a hard, grim, noisy job on the grinder. Which you also could not have done on something sensitive.

However, it’s not without fault:

It’s not perfect. Some things I put in for another 24hrs, and then I still got the wire brush out. Another thing to consider is that the chromed stuff come out dull, dusky coloured. It’s odd to describe, almost like it was sandblasted, It wasn’t chrome any more, clean but not shiny. Not sure if this is better or worse. But it did mostly remove the rust, which was impressive considering how little effort it took. And with the other points - adding water - this meant the liquid lost its rust removing capability a lot quicker, which makes sense. Can re-use it for multiple jobs - I found after a good job, something really rusty, it had little to no effect, and if you left it in there for an extended time the parts were left covered with a yellow paste, which was a pain to remove. Another thing to consider is that the part needs to be fully submerged, which rules our really large parts, unless you’re willing to spend a lot of money on buying the remover. I did get a 25l tub of the Frost branded stuff for £100, which was the best value, but really it wouldn’t take a huge part as the bigger the part the bigger the bucket to put it in is. Also the gel which is used to stick to parts that can’t be submerged, was very ineffective, and also hard to apply and take off. Its form is that of a very dense slime, and for £10 the bottle is tiny. I’d suggest if you need this then get out the grinder. The instructions do state that for larger items cloths should be soaked and left on the part, but I didn’t try this method.

In regards to the Branded and own brand battle, both seem to do the job as well as each other, so I’d go back to the Frost stuff each time, as it’s cheaper.

So in summary - great product. But it’s only really better than an angle grinder with a wire brush when - the part is sensitive (but even then see above), or it’s a nightmare shape that is not wire brushable – or you don’t want to annoy the neighbours with the grinder use. But I guess this will depend on your budget, and preference.

Tuesday 24 July 2018

Front Axle Overhaul - Part One.


My how the time has flown by, but here I am again, back in the saddle, working on the Defender. This time around it’s the front axle - removal, strip, paint and rebuild, with newer better bits. Somewhat prompted by necessity, in that having recently loaned my friend the Defender to run an errand the “noisy” CV became the extremely broken CV. Should have known this would have happened, as this particular friend is known for breaking everything. Nevertheless it was broken, and not only did it loose drive to the front (later to be found, front right), it also lost the ability to turn right beyond 2 degrees. Which I’m told, made for an interesting drive.

So while it broke down, and it’s a pain, it does give me an excuse to get the spanners (and wallet) out to get things right. And I will be treating this repair as I have done with the whole build so far - good parts, and full overhaul. I’ve opted to fully complete the axle side of things while I’m at it, so that includes Ashcroft shafts and CV’s (those of you with more knowledge of Defenders may spot an obvious issue at this point, as it seems I’m very much lacking! But more on this later). Also, new radius arms, trailing arms, springs, X-deflex, diff guards, Panhard.

Within the above shopping list, there have been some changes - firstly the trailing arms.. Originally I’d fitted cranked arms, but after much reflection I have decided to fit the X-arms to compliment the X-deflex. And the other change is the springs, very early on I had brought Terrarfirma heavy duty springs, but holded off fitting them, as without the load they can pull the shocks apart, and make the ride really stiff. Reason for heavy duty is that when I first started I wanted to fit an external roll cage, but as I’ve got older, and perhaps more realistic? I’ve changed my mind, so I’ve now got some medium duty springs and will fit them during this. I went medium duty as a still plan on towing with it, and having a winch.

So first up is to get the old girl in the air, properly supported so I can work underneath without being crushed. This time, instead of using logs, and will use proper jacks - mmmm safety.


Then I messed around underneath trying to remove everything before I felt it was too tight at which point I took the wheels off. I hesitated initially as it would have been good to roll it all out in one lump. So out came the axle stands, and off with the wheels.


Once everything was removed I then, put the wheels back on with just a few nuts to roll it out. In hindsight I would have left the drag link in place, as this would have prevented both wheels from, “flopping” independently from one another. As this was a massive pain to move it around.


So the the axle was off and so I again took the wheels of, leaving the axle on stands. I then asked for some help to lift it on to a bench to work on - at this point I realised how much heavier the front axle is to the rear.


So it was destined to stay on the floor for the time being, I’d need to remove a few bits first. So I started with the stub axle nuts.


After the hubs with discs and then out swivel casings where removed to was much lighter and I was able to move it up on to the bench for the works to continue. At this point the half shafts were also removed, and the culprit was found….


I set all the parts out ready for cleaning and overhaul, as you’d expect from a vehicle this age, they weren’t great.


They did however look a lot better after a good clean. Degrease in the parts washer and wire brush.


I then set about cleaning up the axle, firstly degreasing, then wire brush, sanding, degreased again, and washed with water.


Then the painting begins, first coat to go on - rust converter for any bits that weren’t fully back to metal.


Then on to the undercoat.


 In between coats another job was to mask up, and get the other smaller parts ready for rust treatment. Some of the parts in this photo where treated with rust remover - see later post for details.Within these small parts where the D44 shock turrets I had previously installed. One issue with doing this work as I go, is that some of the new parts start to look slightly older. The turrets weren’t too bad, mostly just some splitting plaint at the edges. So while I had the spray gun out I gave these a blast.


Undercoat to small parts.


Brake calipers also got some paint.


And once painted, and while I’m waiting for other things to dry, I started tom refitt the calipers with seals and cups. This was a pain to do, I see why a special tool it required. Went through twice the amount of seals that should have been required, to the extent where I'm waiting for parts to finish! So the completion of these will be picked up in part two. Left to do, fit most the seals and cups, internal seals, bolt them back together, quick touch up, and change the bleed nipples.


In the theme of re-doing previous work, the rear cross member picked up some damage during use - raming a sankey trailer into wasn’t the best idea. So this was sanded, filled and painted - undercoat.
 

Top coat.


After a few days of spraying and drying time, this is the end result for the axle.


Ready to start to be rebuilt. From my earlier lesson on front axle weight, I won’t go too far with it until it's in place - clever.


With the inner swivels and the seals that required to go on first in place, it was time to fit the bearing races. To assist with this I heated the area little first.


I then assembled the disc and hub.


Something else I decided to do was to rust cost - Dinitrol the chassis where the shocks had been removed as they were looking scabby.


 Area cleaned, masked up and sprayed with rust convertor.


  I then sprayed it with Dinitrol. After a decent amount of drying time, for everything, it was time to start reassembly. First Shock turret and cone.


Then I shifted the axle into position under the front. 


Now it time to start refitting - shock mounted into turret.


Spring at plate loosely fitted.


Then all bolted up - another mistake by me at this point.


Radius arms ready to be assembled.


Bushes fitted.


At this point I realised the above error. When I took the axle off it was shocks and springs, then radius arms. It should have gone back like this as once the spring and shocks are on it was near impossible to move the axle to get the radius arms into the chassis. So athen spent the next few hours, undoing all the work I had just done, and then fitting the arms, and redoing the work. In the frustration I didn’t take photos. So with the magic of the internet - finished….


Panhard bar fitted. I will need to check this is correctly distanced once back on the road as there may be some adjustment required after movement. As it is it’s about 2mm off centre.


Diff guard fitted.


It was at this point the biggest mistake of the whole process was spotted, as noted at the start. Ashcroft shafts and CV’s only come in 24 spline. Now, I knew this, so I checked. But me being thick checked the shafts from the rear axle (that’s what was lying around at the time of order), of course the rear axle is the a later one, because I had already swapped it! The front axle was of course 10 spline.


So back on the net to get a new 24 spline diff. While I’m at it Diff locker, and pegging!  Which was going to happen at some point, now's a good a time as any I guess.


And lets start undoing some of my new works. Diff guard off.


And off with the diff so it can be swapped out when the new one arrives.


Casing left covered.


 And that’s as far as I’ve got for now. Hold tight for part 2, which will be fitting a front locker too!

The above work was carried out over a series of weeks, and due to errors ordering parts, and incorrect deliveries, there was a fair amount on non-productive time. During this time I ticked off some jobs that I had on the list but never found time to do. Also as part of these works I discovered (may have been around ages, who knew) a product that claims to be a rust remover, so I will post the results of this the other works on to separate posts.