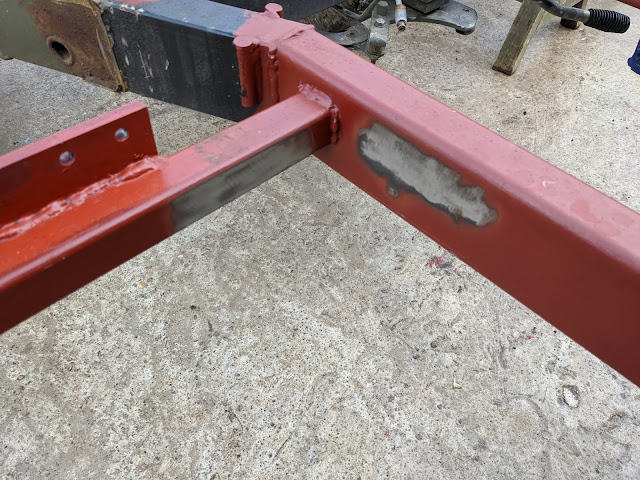
Following on from where I left off: the front body mounts. I’m going to mount outriggers to the trailer in the same place where they would have been in the Defender. As can be seen below, the metal in this area is pretty poor so will need to be made good at some point in the future.
I started by cutting to sections of plate to fix behind these parts, positioning and marking the holes to be drilled. The steel i’m using is recycled / scrap material from work, so there were already some holes.
These were drilled out.
Cleaned up ready for welding and bolting into place. At this point I made sure the body was sat in the correct position on the trailer.
From here I clamped the steel support to the plate.
And then unbolted the body and pushed it back a bit, welded them fully and slapped on some Red Oxide.
Onto the rear cross member, where the frame meets the cross member is directly in line with the two bolt holes for the rear steps, so will need to weld in a captive nut at some point, but not yet. I mounted the cross member.
I then unbolted the cross member for cleaning and stripping back paint in prep for welding. The steel sections that would have mounted the cross member to the Defender chassis needed to be removed. Luckily this is a Britpart cross member and they knocked off with a hammer.
I then mounted the cross member to the tub and got underneath to tack it up. At this point I ran out of welding gas, so it looks awful, but it was strong enough to hold it in place while I took the body off.
I then made up the other sections of the plates, and tacked them into place.
And fully welded.
And then another session with the red oxide.
The next task was to strengthen the front outriggers so that if they contact the ground, or surroundings off roading they put up a bit of a fight. Cleaned the metal in prep for welding.
Cut a section of plate and support in place.
And welded it up.
I also wanted to strengthen up the newly extended section, initially i was going to fit a welded cross section of box, but instead opted for 10mm flat plate in an H Shape, this can now also double as a storage tray.
And fully welded.
And some more red oxide!
The tub then went back on, and got a clean.
Then the side panels were stuck on.
From here I needed to work out what angle was needed on the front of the panels. This is required to allow enough distance between the top of the trailer and the top of the Defender so that when tackling slopes the two won’t clash.
Once this was decided on, the length of the roof was known, and it was time to cut it to this right length.
Front cut off and starting on the rear.
Then mounted the two sections in place.
I used panel clamps to retain the two sections while they were welded.
Now my welding ability is not the best, my TIG welding ability is worse, and aluminum is really hard if you have no skill. So after burning a nice big hole on the edge of the panel I set about riveting a section of aluminum on the inside, which would be removed after.
Which worked OK, I still can’t TIG but I can grind it back.
At this point my gas bottle fell over and destroyed the regulator, so that stopped that. Hopefully I can get a new one before Corna stops everything.
But I had other stuff to do, so I moved onto the brake line extension.
After getting the extension in, mounting all the new fittings I learnt that the new fitting was not the right one, so thought I'd use the old one, but to do this it would need some repair as it was mullered while removing.
The plan was to bore out a nut and weld it on.
This worked well, for about 30mins, but the weld did not hold and the nut came off. Back to trying to find the right part!


No comments:
Post a Comment