Friday, 24 April 2020

Odd Jobs

The COVID-19 pandemic, while filled with uncertainty and misfortune for everyone has had some positives when you look beyond the obvious.

I was made Furloughed a few weeks into the situation, which wasn’t ideal as I was working on a reduced salary, but I was able to commit all my time to my projects! This meant I was able to spend far more time on the Land Rover than I would have been able to normally, and perhaps ever!

So I tackled some jobs that I had been putting off.

In truth these jobs started mid way through part of the trailer project which will appear in the next post, but this post will be nice and quick and the other is still developing.

Direct to battery Anderson connectors - I’ve always had the idea of installing Anderson connectors front and back to allow jumping / charging of the battery without the need to get at the battery. Well well messing around with trailer electrical connections (next post) I install the front.


Next on the hit list: Tachometer. I’d used this before for testing but never installed it so here we go! First I set it up to make sure I had the right connection points.


Ran all the cables and mounted in, turned out to be fairly easy.


Binnacle mount - just like most Defenders mine suffered with broken plastic binnacle mounts.


So off with the old.


And here is the new.


This is why this job is a pain.


Forgot to get a fitted picture - maybe later……

Alpine seals - when I re-built the Defender all those years ago I didn’t realise that the apline seals came in two parts - outer seal and filler. As a result I used the old filler which was pretty poor back then, really bad now. Since then I’ve always had a slight leak in the cabin, which I suspected was from these poor seals. So time to change out for new.


New installed - with a bit of a clean up too.


And then I’m pleased to say the old girl got a much needed clean.


Making the most of a bad situation. 

Interior Trim

Now that the head lining is in, I’m able to fit the interior trim to the walls, I’ve got my old trims and the idea is that these will be covered in material to make them look new.


But first I finished off the sunroof trim which I was missing clips for.


This is the material opted for, is a leatherette type material.


I cleaned off the trim cards, have been stored for 10 years they’ve picked up some dust.


I then started fitting the material with glue, this did not go well. The straight runs were fine but in the corners and edges it was impossible to get the material to sit right. I tried cutting it into runs and even this didn’t work.


In the end I pulled the material off and cleaned off the glue. A new plan was needed. I did a lot of research and was fairly convinced that Raptor was the way to go. However I called up Buzzweld and they recommended something different - plastics in one.


B Pillar trims ready to go.


First coat to first batch, looking good.


The next day after drying I compared the new and old finishes


At this point I’m really happy the trims look like new, and very original. However the next challenge awaits, the trims i have have picked up some damage through use, the idea of the raptor was that the thick paint would coat over these marks, but plastics in one is a very light paint. To fix the damage I used glue which was sanded once dried.


This is the finished result, I’m so pleased with how it ended up, the damage that was repaired with glue is almost invisible, if you look close enough it can be seen as it’s smooth while the rest is textured, but you really have to be looking.

On to the install - after sufficient drying time! First removal of seat belts.


Then horrifically, I had to cut holes in the new roof lining to fit the trim, not a nice job!


At this point i also remembered I broke one of the retaining clips, so a new one was needed. But this part is not available! Typical.


So I needed to make a new one, I cut out a bit of steel to match.


And needed to put a bend in the end so found a socket that was the same radius.


And weld into place without melting the trim! And set at it with a hammer. This is the end result.


Now to weld it in place without melting the trim. Damp cloth at the ready.


And that's as good as I'll get.


Both window trims in place.


Middle roof trim with handle added in.


And the other side


With the dog guard in place.


All done! Trim for the first time in 10 years!!

Saturday, 28 March 2020

Continuing with the Camping Trailer

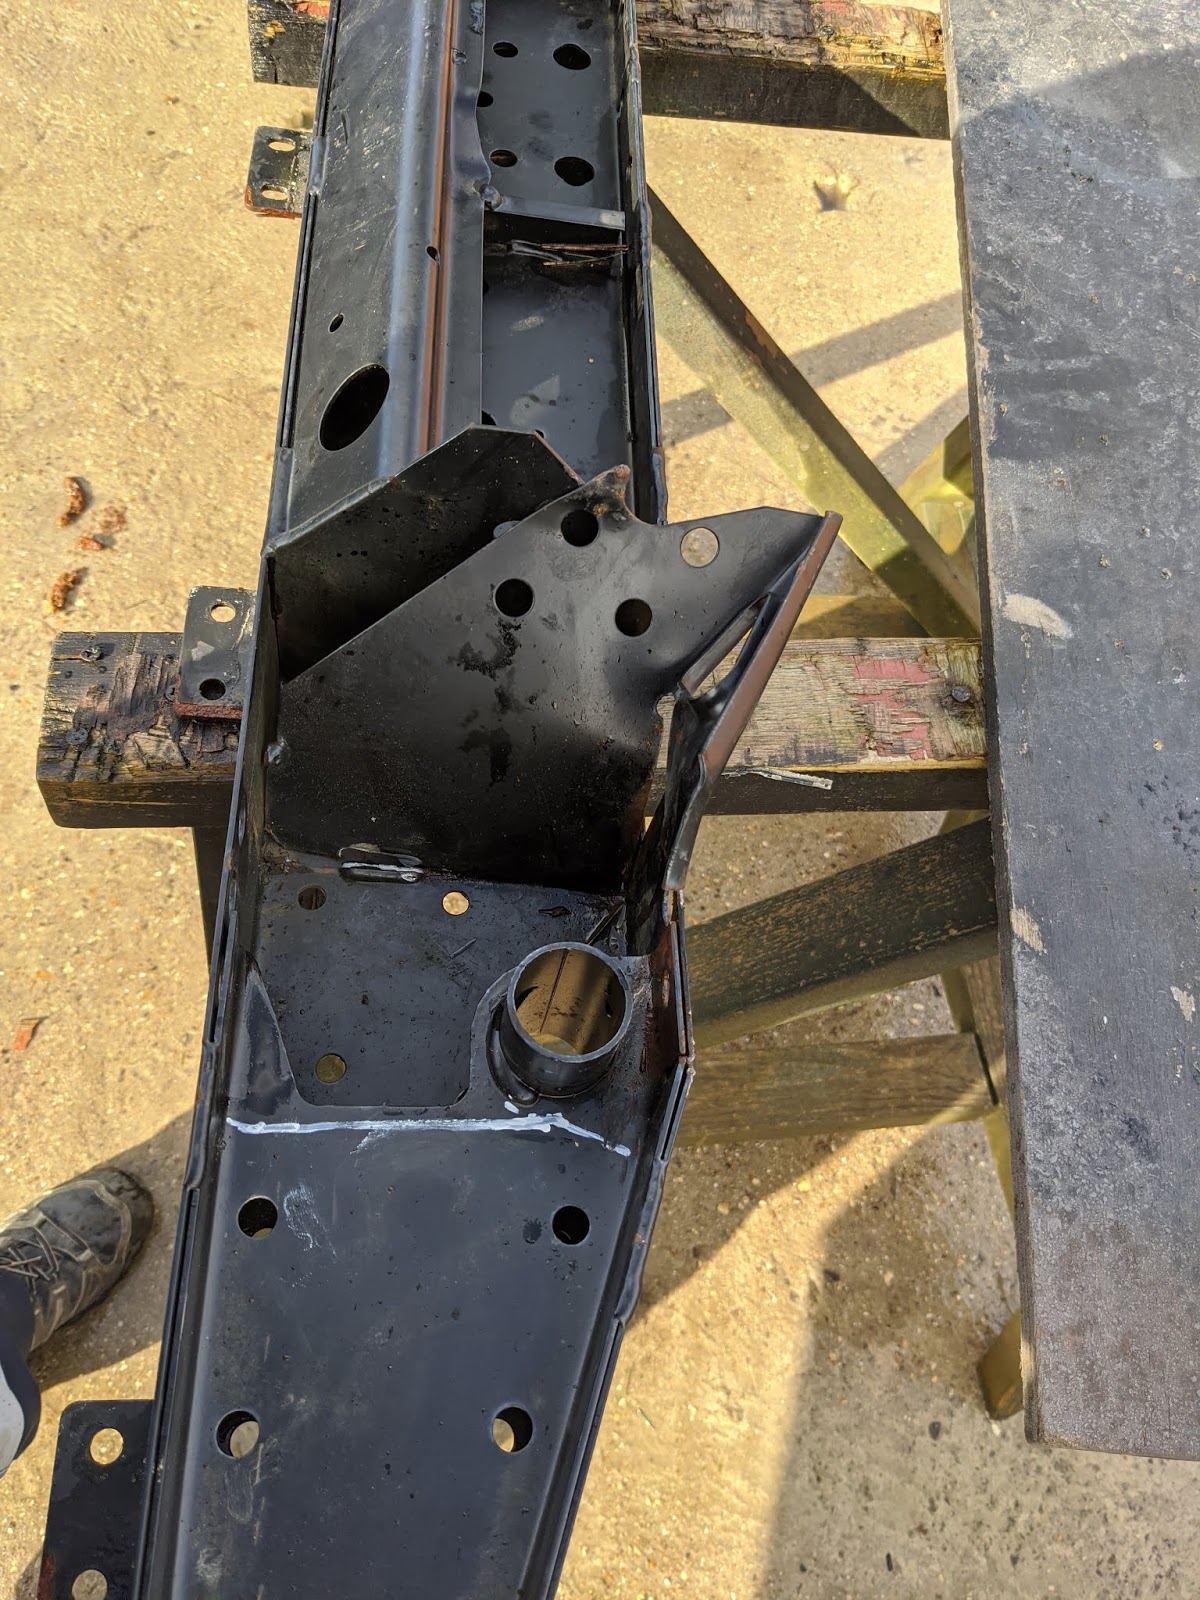
Following on from where I left off: the front body mounts. I’m going to mount outriggers to the trailer in the same place where they would have been in the Defender. As can be seen below, the metal in this area is pretty poor so will need to be made good at some point in the future.


I started by cutting to sections of plate to fix behind these parts, positioning and marking the holes to be drilled. The steel i’m using is recycled / scrap material from work, so there were already some holes.


These were drilled out.


Cleaned up ready for welding and bolting into place. At this point I made sure the body was sat in the correct position on the trailer.


From here I clamped the steel support to the plate.


Tacked it in place.


And then unbolted the body and pushed it back a bit, welded them fully and slapped on some Red Oxide.


Onto the rear cross member, where the frame meets the cross member is directly in line with the two bolt holes for the rear steps, so will need to weld in a captive nut at some point, but not yet. I mounted the cross member.


And with a bit of cardboard I made some templates for part of the mounting, marking the cross member in the process so I can clean it.


I then unbolted the cross member for cleaning and stripping back paint in prep for welding. The steel sections that would have mounted the cross member to the Defender chassis needed to be removed. Luckily this is a Britpart cross member and they knocked off with a hammer.


I then mounted the cross member to the tub and got underneath to tack it up. At this point I ran out of welding gas, so it looks awful, but it was strong enough to hold it in place while I took the body off.


I then made up the other sections of the plates, and tacked them into place.


And fully welded.


And then another session with the red oxide.


The next task was to strengthen the front outriggers so that if they contact the ground, or surroundings off roading they put up a bit of a fight. Cleaned the metal in prep for welding.


Cut a section of plate and support in place.


And welded it up.


I also wanted to strengthen up the newly extended section, initially i was going to fit a welded cross section of box, but instead opted for 10mm flat plate in an H Shape, this can now also double as a storage tray.


And fully welded.


And some more red oxide!


The tub then went back on, and got a clean.


Then the side panels were stuck on.


From here I needed to work out what angle was needed on the front of the panels. This is required to allow enough distance between the top of the trailer and the top of the Defender so that when tackling slopes the two won’t clash.


Once this was decided on, the length of the roof was known, and it was time to cut it to this right length.


Front cut off and starting on the rear.


Then mounted the two sections in place. 


I used panel clamps to retain the two sections while they were welded.


Now my welding ability is not the best, my TIG welding ability is worse, and aluminum is really hard if you have no skill. So after burning a nice big hole on the edge of the panel I set about riveting a section of aluminum on the inside, which would be removed after.


Which worked OK, I still can’t TIG but I can grind it back.


At this point my gas bottle fell over and destroyed the regulator, so that stopped that. Hopefully I can get a new one before Corna stops everything.


But I had other stuff to do, so I moved onto the brake line extension.


After getting the extension in, mounting all the new fittings I learnt that the new fitting was not the right one, so thought I'd use the old one, but to do this it would need some repair as it was mullered while removing.


The plan was to bore out a nut and weld it on.


This worked well, for about 30mins, but the weld did not hold and the nut came off. Back to trying to find the right part!