Saturday, 4 August 2012

Plodding on.


Over the last few weeks I have been continuing with the refurb of the axle, self-levelling unit, and a few smaller jobs along the way.

First up I finished off painting the self-levelling unit which I had previously removed.


The next job was to wire brush the rear axle ready for paint.


After degreasing, the axle received a spray of undercoat.


During paint coats I set about repairing a spot of rust in the outrigger, first I wire brushed the wax off.


Then cut back the rust ready to weld up.


All welded up.


Then added a layer of wax to protect it from the elements.


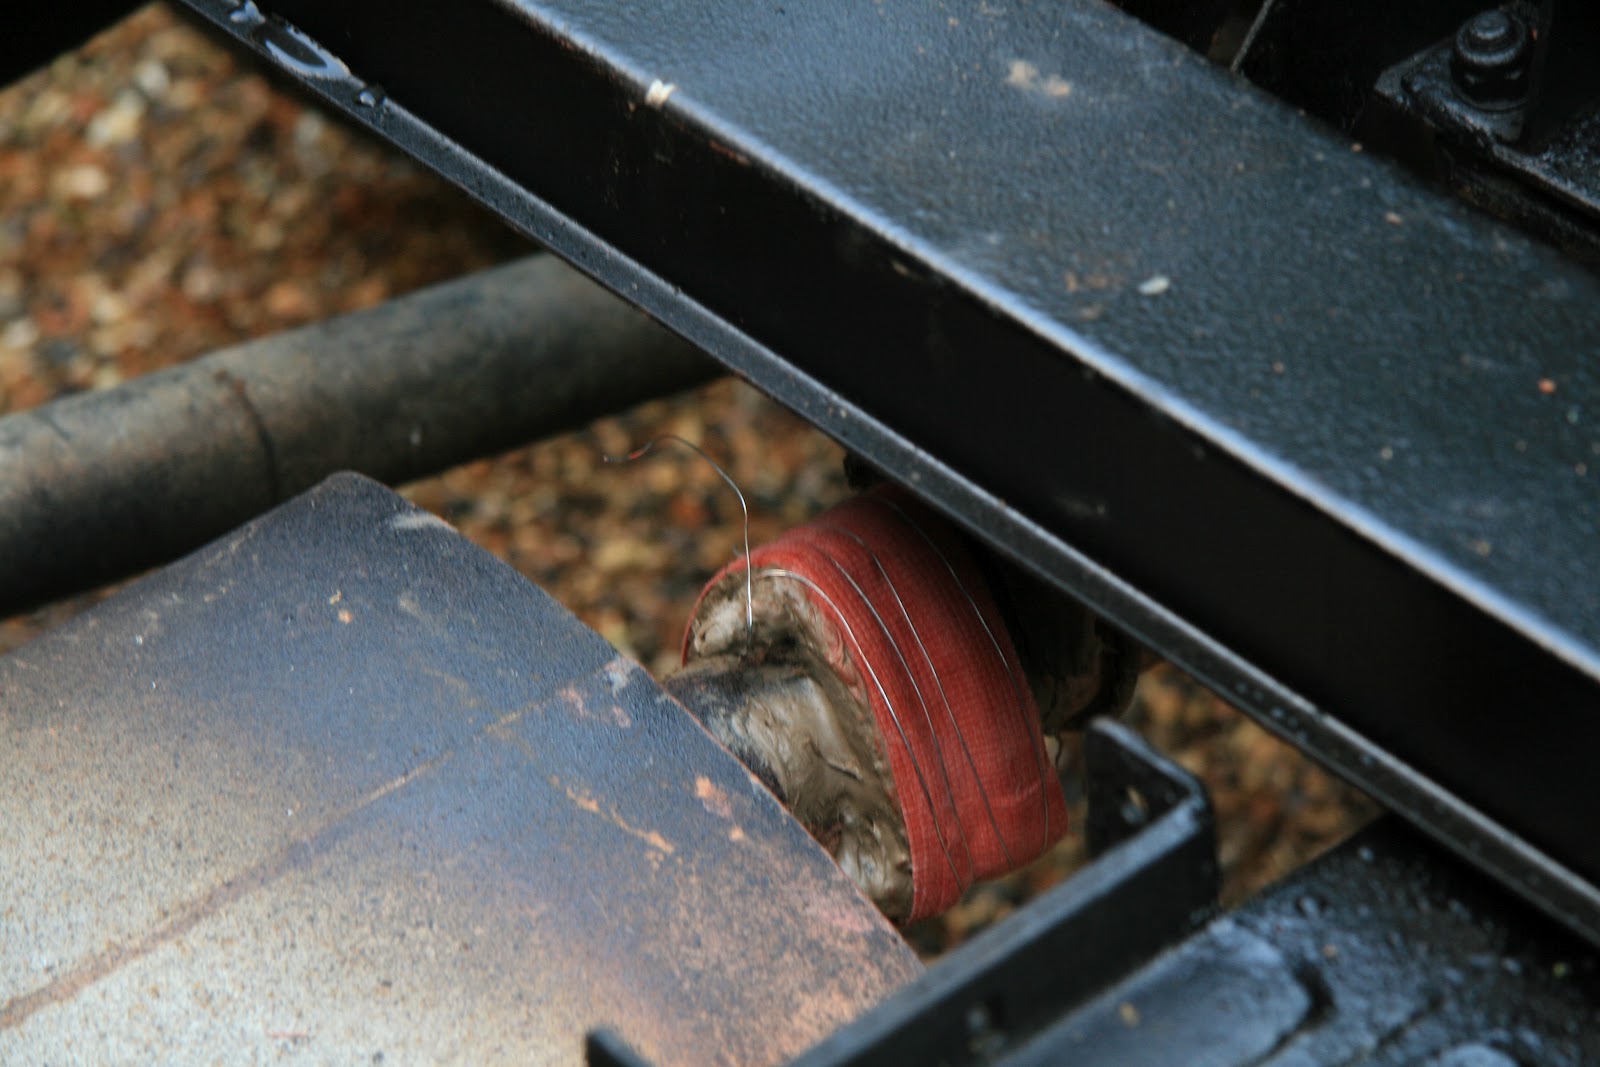
Another job I had to do was to paint the return fuel filter cover as every time I unscrewed it petrol would flow over it, taking off the wax. So it needed to be painted. First up I removed the sleeve from its postion.


Then cleaned it up and gave it and its bolt a few coats of chassis paint.


I had quite a few items to spray….


 Here is the axle with its final coat.


I also fitted and X-Eng plug, which plugs the oil drain and also has a magnet to capture any loose metal inside the diff, which I thought was a good idea.


Another job I took care of in between painting (lots of waiting around) was to strip back my newly acquired steel wheels.

Wednesday, 11 July 2012

Odd Jobs


Last weekend I complete a few more odd jobs that had built up since I started this phase, and a little before then:
First up I refitted the exhaust and repaired the large holes that had appeared.


I decided to do a bit of a bodge as at some point I will be upgrading to a nice stainless system when then engine comes out. So for the time being plenty of Gun Gum was used to seal, and some Gun Gum tape.


Then I set about finishing off the axle that I purchased a while ago. The axle is  a newer type which has mountings for disc brakes, which is a good upgrade.

The issue is that all the brackets had rusted through, so I had ordered a new set from YRM. And until now had got round to fitting them. I had stripped the axle down previously. 

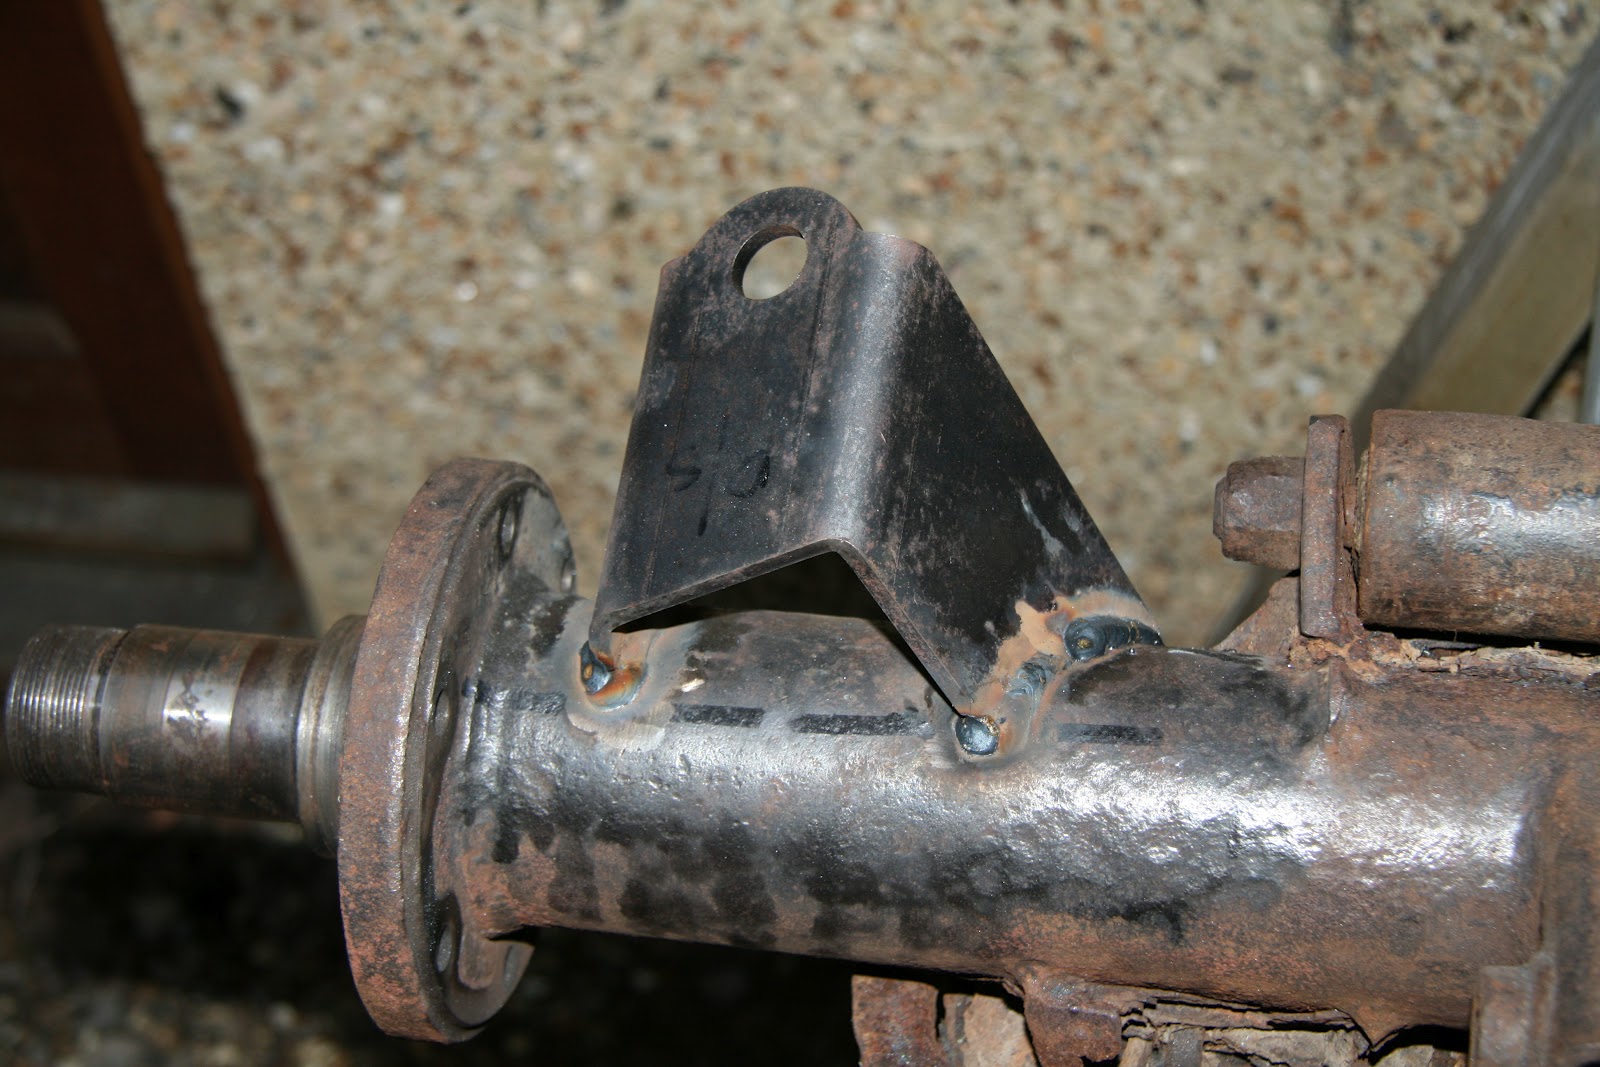
First up was the shock brackets, this involved cutting off the old ones and grinding down.


Then I welded on the new brackets.


Then I cut off the old anti-roll bar mounts, these weren't too bad, but I felt it better to have all new, so off they came.


And weld the new ones in.


Next up were the spring plates.


And lastly the drag links, here it is all welded up.


The axle is all welded up, just need to wait for the paint to turn up so I paint it before re assembling and fitting.

I was also poking around the internet and found out the levelling unit was REALLY expensive, so decided to take this apart and carry out some maintenance work to it, such as replacing seals, bolts and gaiters. I will also paint up the chassis mounts and A frame.


By the end of the day I had it cleaned, but didn't take any photo's as it was late. On to the next few jobs.....

Sunday, 1 July 2012

She Moves!!

The last few weekends saw me bottom out a few jobs which enabled me to move the Defender!

I had the Dinitrol out so I waxed the seat and floor base


Then I wax the tank and installed.


I also waxed the mid cross member


Then I re-connected the wiring loom, re-wrapped it and installed. I also added new clips to ensure it doesn’t move around.


Then I fitted the fuel lines, this was a pain but the result was better than I was expecting.


You will note from the above that the Defender has moved! It’s been six months of static but she has now moved and is capable of further movement! To celebrate I drove it around the garden a bit and took a video of it!


I then waxed a few more spots and coated the fuel lines also.


Next up will be to repair the exhaust, so it can pass and MOT and then on to the painting.


Monday, 7 May 2012

Tweaking the cross member

I spent a little more time tweaking the rear cross member over the last few weekends.
Firstly I modified the holes to suit a smaller hitch pin, as I decided to opt of the standard size pin to make my system more universal.


Here you can see the cross member which has been ground down so all the edges and welds are smooth, it also has the recovery hitch in place and is all polished up


Here I have put in the cover for the receiver


And the finished job sprayed with undercoat.


I also welded a tube through the drop plate for the new sized hitch pin. Next up is the wiring loom.

Friday, 16 March 2012

Rust Proofing

This weekend I spent a little time rust proofing the chassis.
However First off I fitted both the steps and the drop plate to see what it looked like.
The I set about cleaning the chassis and removing all the loose rust. Below is a comparison photo - right it cleaned left is un-cleaned.
The photo below is after the cleaning.
The chassis was then sprayed in rust convertor.
While this was drying I filled the chassis with cavity wax, not my favorite job but an important part that is worth doing properly.
After this was complete I started spraying on the chassis hard wax, results are good.


Then on to the bottom of the rear tub, as this is mostly aluminum I used stone chip as this will go some way to help with sound deadening.
I will be having a bit of a break now until April as other things have taken priority, but the job list is:
  • Fit the mid cross member
  • Wax the cross member and re wax some missed spots
  • re-wire and refit the rear loom
  • Wax and refit the fuel tank
Then after these small tasks I'm on to painting the body work before refitting.

Wednesday, 7 March 2012

Cross Member Fitted.

Well the cross member is now completed. Over the last weekend I finished up the few remaining jobs.....
A new cable route was made for the rear wiring loom. I decided to keep it simple and just cut out a tab of metal to allow the cable to run through. This was then filed and polished.
 I then decided to modify the end of the QD tow bar. After giving it some thought I wasn't happy with the quantity of metal left holding the drop plate in place. So I cut down the profiled sides.
 
I then welded on some 8mm plate either side and reformed the hole through for the hitch pin. The whole lot was then ground down and polished up.
Every thing was fitted to ensure all was OK.

It was then given a lick of under coat to protect it from rust until it was time to carry out the painting.
On to the next lot of jobs......