Sunday, 10 August 2014

Heated Screen

Another task that I completed recently was to wire in my heated screen, that I had installed when I swapped the bulkhead. It’s been on my list for a while. The first task was to start running wires, as you can see it looks like chaos, which always seems to be the case when working on the Defenders electrics.


The relays and fuses will live under the passenger’s seat.


And will be switched from the centre console.


All complete and looking good, I also put in to 12v power outlets – one each side of the console.


Wednesday, 6 August 2014

Mud Flap Modifcation

Mud Flap

So the fitting of the new exhaust system did throw up a couple of issues. One of which was the extent the pipe sticks out the side of the vehicle, this isn't too much of an issue so for now it stays as is. The other is that the exit of the pipe completely stops the mud flap and bracket from being fitted.


So a custom map flap bracket was required. I worked out that if I altered the shape of the original design and mounted it slightly further rearward on the outside of the vehicle it could work. First task was to make a cardboard template. The picture below is after a lot of trial and error, but I’ll skip the boring bit. 


This template was then transferred onto a sheet of 3mm steel.


Which was cut out with the plasma cutter.

The rough edges were then ground down and the unit polished.


The locating tabs bent into position.

The holes were then drilled out, and the mud flap test fitted.


And then the flap and bracket were tried for size. The mud flap it's self needed to be trimmed so not to rub on the exhaust. In the picture below the exhaust is pushing on the mud flap.

 Then it was painted, dried and final fitment.


Job done.


Green Laning

It’s been a while since the Defender went of road so me and an friend met up and did what we thought would be a quick few light green lanes – but it ended up being more like the Camel Trophy (well not really, but closer than I wanted it to be)! The first lane took us 2 and half hours.

The first lane was too badly abused, we shouldn't have gone down it. But my mate was eager and we neglected to walk the course. So once stuck there was no choice, won't be going down it again mind.

Being stuck was also quite interesting - as we both were running the same type and size tires, but my mate struggled a little more than me. Might be the lift, or the wheel base not sure.

Never the less we still had fun, as you will see. After the Camel Trophy section there were some proper green lanes and a ford so interesting day.


I did however get a few scuffs in new paint work and glass. Both of which I think I can polish out. Annoying none the less, but to be expected considering.


New Exhuast

Its been a very long time since my last post, and you may have noticed a pattern here. The cause for this pattern is my other project - full house refurbishment. I'm pushing this on to completion so the Defender and this blog has taken a bit of a back seat. Neither the less, I have worked on the Defender, and the below was written shortly after my last blog, but I've just not had time to upload it........ So back to it.

Since my last post I have done some green lane-ing. In fact it was the next day as the prior post suggested, but more of that in the next blog.

Next day at work I ordered a new exhaust, as there was an insane level noise coming from the Defender. Double S full Sport on its way……

Which arrived promptly. So first task was to strip out the old.


Which went unbelievably well, up until the last bolt I undid snapped off…..


Proper pain. It took about 3 hours of drilling an abusive language to get this thing out. I brought two different types of stud extractor all of which failed. In the end drilling it out was the only option. There wasn’t much left by the time it was out, luckily there wasn't much damage to the block thread.


But in order to get it out I had to take off the wing, which i was hoping not to do.


But once that was sorted I set about installing the new system.


As you will see from the above the bore on the end section is much bigger, and there is no silencer….. J

All in all not a bad job to do (other than the snapped bolt), the exhaust fits together very well, looks good and sounds great.


Sunday, 20 April 2014

Back on form?

 So after much thought I purchased the new fuel pump, a genuine Land Rover unit. I also came to the conclusion that I would not be able to get the time to fit this myself. So for the first time I would be paying someone to fix my Defender.

I opted for Beech Hill Garage, as they are fairly local and deal in old MG’s and Rovers, some of which have the same 3.5L V8 as mine.

So I dropped it off and explain what I had done, and what I thought the issue were. And asked them to see if they agreed and to change the pump.

They agreed that the issue was fueling, but the pump change didn't solve the problem! So they continued to search for the problem, and ended up rigging a temporary tank and pump. Which solved the issue.

So they looked at the inlet of the feed, which was smaller than the outlet of the spill. So it was drilled out to allow better flow, this didn’t fix the issue. So they traced the fuel lines. This is when they noticed that I had plumbed the feed and spill in the wrong way round!!!!!! They switched the lines, and this seemed to solve the problem.

I got it back and the problem in 3rd gear had gone it was great, however the problem was still present in 4th and 5th. After a discussion with them that day it seems that when they drilled out the, what was believed to be at the time the feed inlet to the carbs, another issue was created. As this inlet is actually the outlet of the spill, which is meant to be smaller to allow pressure to build giving pressurisation to the carbs which are a T off of a loop of fuel line. Without this restriction and pressure, fuel was flowing too easily around the “loop”, meaning insufficient fuel was going to the T to the carbs and engine.

So new fuel lines and carb links on order and the plan is to use the Defender over the bank holiday weekend for a trip to the coast. Which was only 4 working days from the date of the order and me getting the Defender back. In order to make the trip there were a number of things I would have to do. Fix driver side headlight, install the new front suspension lift to improve the handling of the Defender. And fit new fuel lines once and if they arrive, and hope it fixes the issue. So pressure on!

Monday night, I fixed the headlight fault – loose connection.

Tuesday night I started the suspension, completing the driver’s side first.


Old parts removed.


Shiny new D44 items fitted.


And that was all I did on Tuesday as it was my Birthday and I was going out for a meal, which I was late for!

Wednesday night I got home to find a collection of parcels on my doors step, so the parts arrived but will I get chance to fit them?

Started off by fitting the passenger side suspension; old removed


New fitted.


As you can see it was late when I completed the suspension, but I stuck it out and fitted the new fuel lines to the carbs. Due to the late hour I didn’t test the Defender that night, but waited till Thursday after work.

The test run the next day confirmed that the problem is resolved! And she’s running sweet

Couple of pictures after the test run with the new suspension.


And a couple more in Dorset on Holiday! Very please and worth the hard work.


250 miles covered and even got some green lane-ing done on the way home.

However, the exhaust which was blowing now sounds like it’s completely disconnected. So it’s extremely loud, 50mph plus is painful. The handling is also interesting due to the suspension lift. So a few items to look at. But its still the Bank holiday weekend, so a few more byways tomorrow – with ear plugs!

Wednesday, 2 April 2014

Fault finding and Sound proofing

Recently I managed to get a few days working on the Defender between a full kitchen refurbishment, which is taking a lot of my time.

Firstly I did a bit of sound proofing; condensation from the roof was starting to become a problem inside the cab. So I brought a kit for the roof, rear load area and under bonnet from NoiseKiller.


First off I started off with the roof section. Easy to fit, not particularly interesting and quick. So not many photos here.

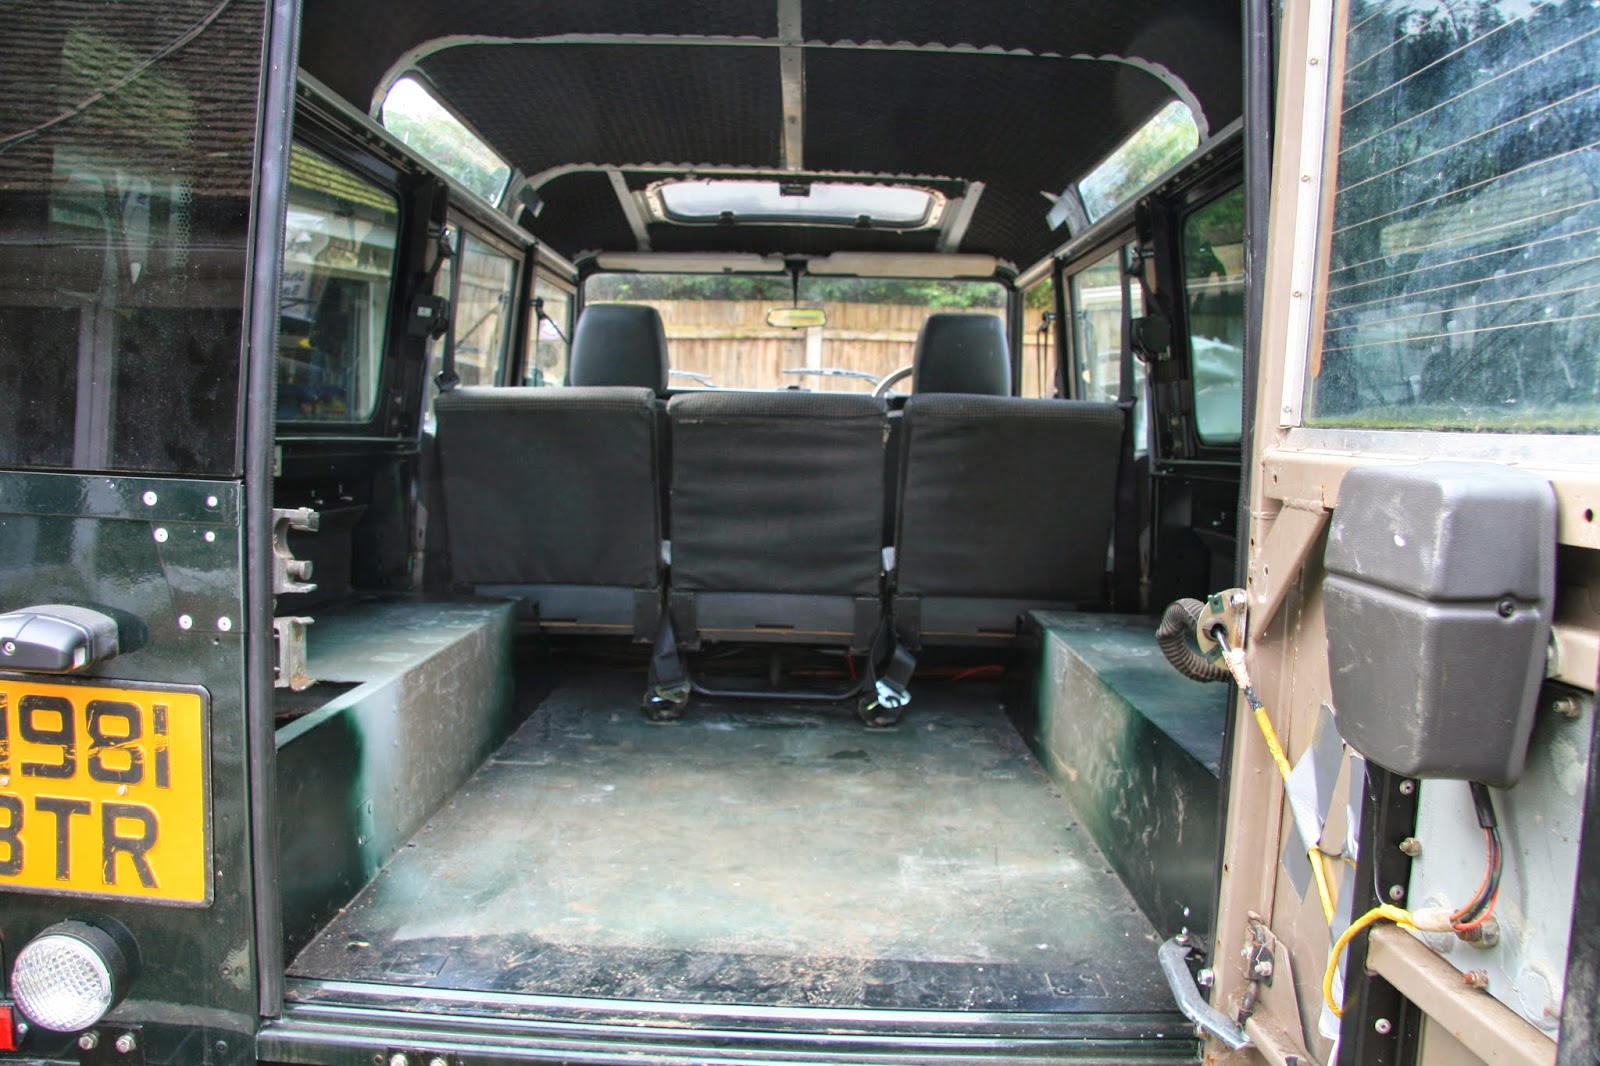
Next was the rear load area. Again very simple and quick.


And to finish, under bonnet.


The effect of the NoiseKiller is noticeable straight away, even though the front area and 2nd row isn’t done. Plus there is also a hole through to the road around the gear stick! But the interior is much improved, and the condensation is also put at bay. Job done!

Then back to trying to find the cause of the running issues while under load. I tried a few things this time around, firstly:

Temporary fuel pump. I tried this two ways. One way was with a new temporary fuel tank mounted in the cab with the pump, and the other way was to add it mid-line of the fuel line to work in conjunction with the tank fitted pump. Both were inconclusive, with the in-line option resulting in the Defender barely running at all. So no joy here.

Next thing was to take a negative feed straight from the battery to the chassis, to ensure that all items earthing from the chassis (Ignition, coil, fuel pump) were earthed correctly. Again no change.

Then I decided to take the carb apart (again) and check the float levels.

They were set up, and reinstalled – no change!!!!!
 
So another few days down and still no resolve for my issue, which is extremely frustrating.

I pondered my next move, and after much consideration I opted to buy a new tank mounted fuel pump. During my hours of fruitless fault finding I had spoken to Safari Land Rover who are nearby. They said that if I had used and aftermarket (Britpart) fuel pump, this would be the cause as they have seen this issue many times before. I have fitted a Britpart pump, and this is because the cost different between the Britpart and the Genuine Lane Rover is £230! With the cost in mind, I wanted to be sure that this was the culprit before shelling out. And as I can’t think where else to go with this fault, the pump was purchased. I await delivery and time to install……….