Tuesday, 31 January 2012

Welding Practice.


The new welder has arrived so it's time to practice welding. As shown in my previous post, my last attempt at welding was a little off the mark. 
I have also done a quick write up on my new welder.
This is my first go with the new welder, which is instantly better than previous attempts.


I continued to practice on the large steel, I also welded some thinner steel. So far all looks good.
At this point I stopped as light was fading. I will continue with the practice another day.


My thought so far on the new welder - a Portamig 215. I'm comparing using this machine with the Siegen Power Mini Mig 130 I borrowed from a friend not long ago.
 
It arrived in a dissembled state - there were no instructions on how to put it together, but it was easy to work out and in 15 mins was all set up. There is a insturction booklet, but i found on-line welding guides a better way to go.
Quality
The quality of the machine and its components is very good, I was particularly impressed with the mig torch that it's supplied with. The earthing clamp is also of very good quality on the Portamig. This wasn't the case with the Siegen, and you can defiantly tell it's made to a budget, in some far away place (China).
Components
The mig torch on the Portamig has a large connector to the machine and swivel housing on the handle aiding movement. The torch is a removable item unlike the Siegen, making replacement, repair or upgrade an option.
The earthing lead is detachable, again unlike the Siegen.
Controls
The controls are similar between the two, but with the Portamig there are more power options to choose from.
Gas
Another key difference is the type of bottle used for gas. The Portamig uses a full size bottle, whereas the Siegen uses the small hobby gas. No contest there as the hobby gas is expensive and doesn't last long and I also found it gives poor results (possibly due to poor pressure). The Portamig is supplied with a gas regulator that has two gauges - pressure of the bottle and pressure to the machine. This is very hand as you can ensure that the correct amount of gas is getting to the weld and you can tell when the bottle is empty!
Weight
The Portamig is much heavier than the Siegen for a number of reasons -
  • It's a bigger welder overall
  • It uses 15kg of weld wire (you can get an adopter to take 5kg, but I found no money saving in that approach)
  • there is a full size gas bottle strapped to the back
  • longer and thicker external cables / leads
But the Portamig is sat on 4 wheels so its not too much bother to move - until you get to the gravel drive!
Welding Results
When I was welding with the Siegen not long ago, I though that welding was the hardest thing in the world, I got poor weld quality, strength and appearance pretty much constantly ( I used it for about 2 and half days!)
One my first go with the Portamig I got some fairly decent results - I know I'm no pro welder, but with the Portamig I'm so much closer than I was with the Siegen. And i still understand that quality welding is a difficult task - but having the correct tool for the job always helps tip the scales.
The Portamig 215 has an amp range of 15 - 215. Making it good for welding thicknesses of 0.5 - 8mm of mild steel.
The Siegen 130 has an amp range of 30 - 130. Making it good for welding thicknesses of 1 - 2mm of mild steel. (got that off an add for the Siegen) << Which is a pretty shocking scale when you consider the thicknesses of Land Rover chasis (2 - 4mm?), and automotive body work (0.5mm).
I know the two machines are in different leagues and their price reflects this but when you consider the Siegen has a list price of £432 (although you can pick them up for £250 - £300) and that the lower power version of the Portamig (185amp) is £579 the value for money is outstanding. Defiantly worth the extra money.


Images of the two machines are below (please believe me when i say i didn't buy the mask and the machine with the intention that they matched!)

Next up is to practice some more. Re-weld and reinforce the new rear cross member - got the idea to do this off others on the web, this should help keep the new cross member looking better and help it perform its task and then weld it in place!


Tuesday, 10 January 2012

Further Prep Work

It's been a while since my last post, but things have been ticking on slowly.....
 
The tub which I removed got sanded down.
Then filled, sanded further. Then sanded 3 more time with finer grades.


The removed sills where then brushed, cleaned and all glue / sealant stripped back to allow for paint.


Closer inspection of the sills revealed some fairly large rust patches. I looked at buying new sill parts but in the end opted to repair these ones as some form of welding was required either way. Firstly the rotten sections were cut out.


Then I measured, cut and prepared some infill sections from some sheet steel.


WARNING: Prepare to see some shocking welding!
I then welded in the infill sections. Now I haven't done a lot of welding but I'm planning on doing some practice very soon. But in the mean time these section's won't be seen and the angle grinder tided them up OK (plus a little filler won't hurt). Important thing is that the weld is solid. (I also partly blame the cheap hobby welder)....


The removed roof was set up in the garden and treated to a rough sand, followed by filling and sanding then 3 further sanding runs at different grades (bored of prep work now).


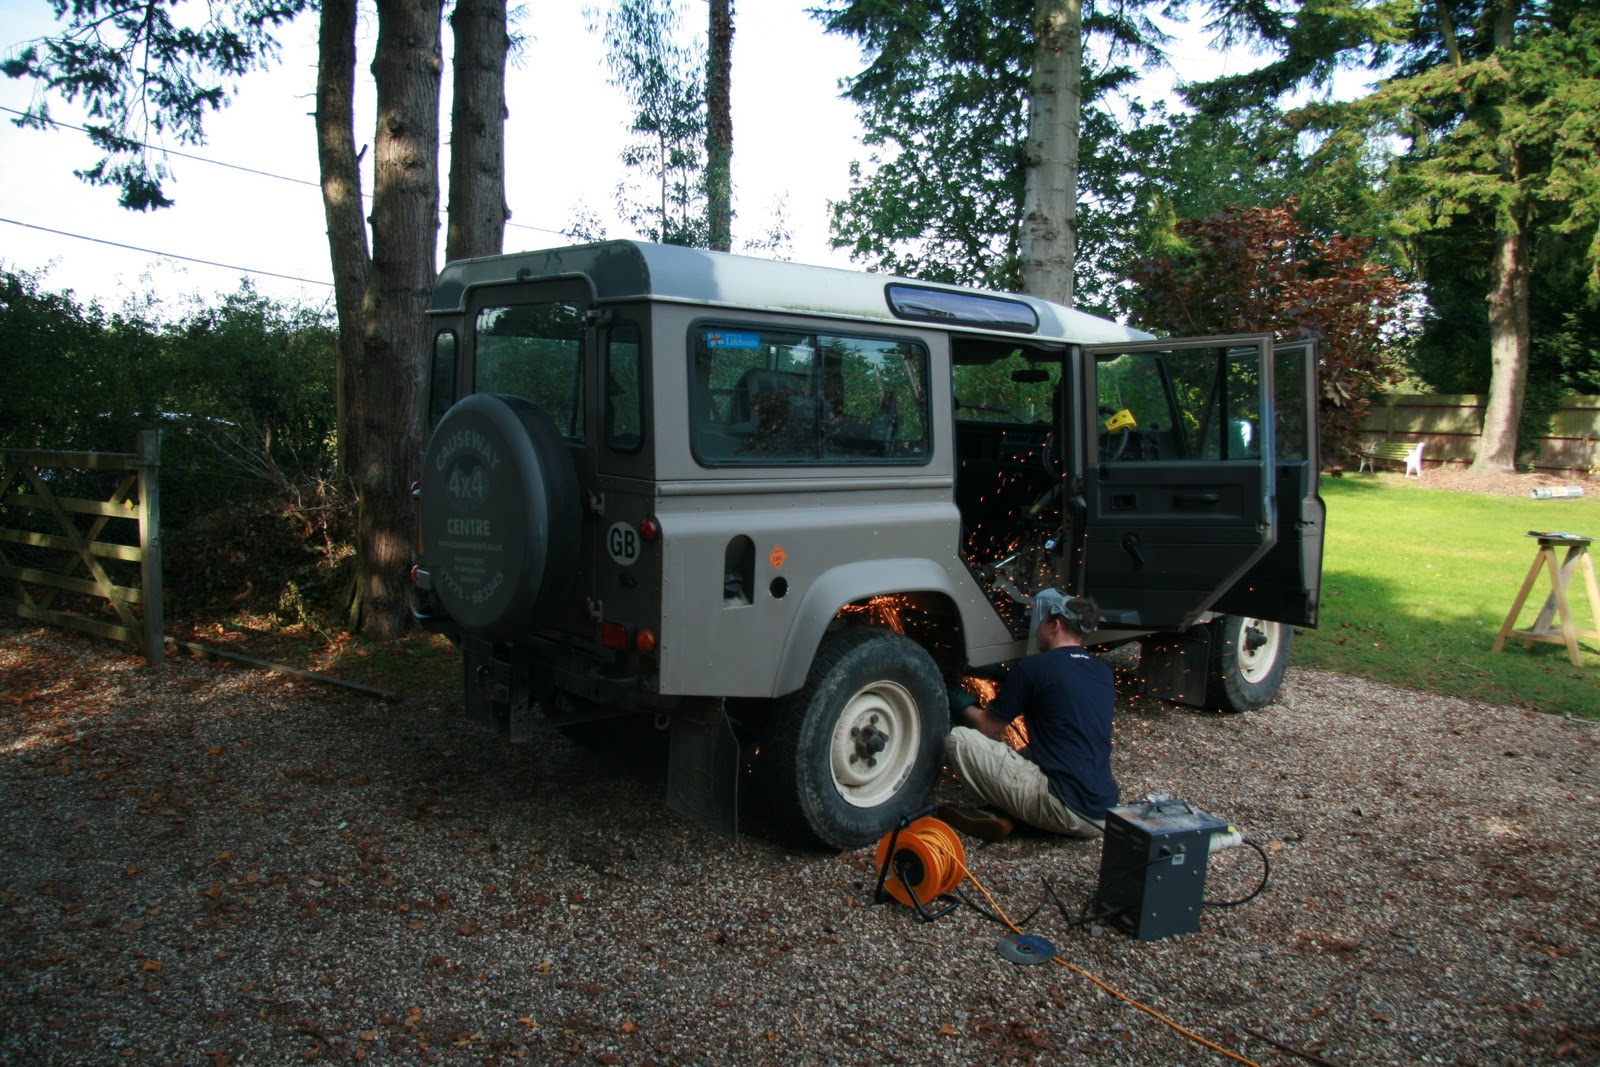
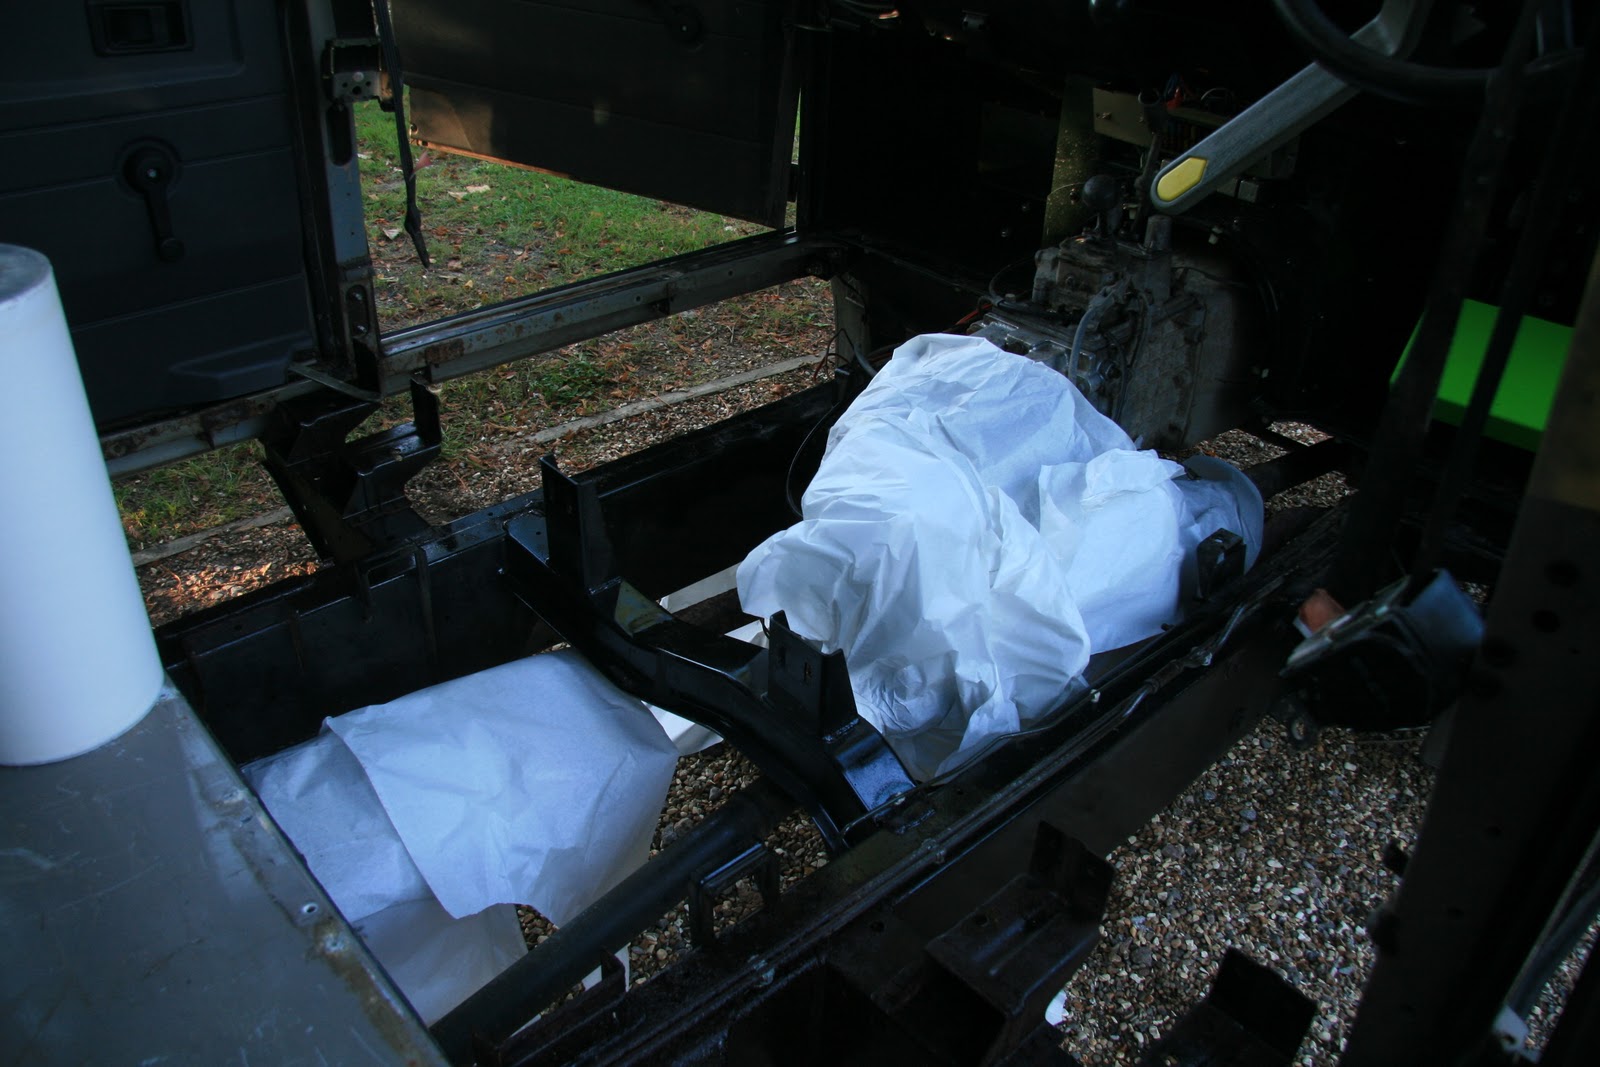
I then turn my attention back to chassis. I decided at this point I would replace the rear cross member (as my welding skills were ready!), the edges had started to flair and the same scum bags that patch my bulkhead did two patches to this also. So I set about removing the tow bar followed by fuel tank.
Mid way through the removal of the tow bar the decision to replace the cross member seemed very sensible and the patches as suspected covered vast amounts of rust. Fortunately only the cross member itself needs replacing and not the extensions.
Tow bar removed.


Then out with the fuel tank.


While the fuel tank was out and floating around I decided to carry out some work to it...
Firstly to replace the rusted fuel pump top. I could only find the pump as a complete unit so out with the old....


In with the new. I covered the end of the pipe with some electrical tape to protect it when I rust proof the tank.
 
 
Next was to replace the fuel level send, this has been faulty for a while. 
 
 
Again I covered parts in electrical tape for protection.
 
 
So next job up is to replace the cross member....
I have a decent welder on order, a load of scrape to practice on and some free time to get my welding up to scratch before I attempt that one.
 
Once that's in place I'll be moving on to rust proofing the rest of the chassis and the tank.
 
After that I will learn how to spray body paint..................

Friday, 21 October 2011

Strip of rear tub

Well I continue the stripping of the rear body, firstly be removing the passenger side sill.


Then by removing the rear tub and disconnection the wiring


I set the rear tub up on some benches so I can start the prep work.
I clean of the rear section of the chassis. Looks good underneath, a little surface rust but nothing to worry about - at least that's what I hope!


The rear tub gets cleaned off - also in very good condition.


Monday, 3 October 2011

Continuing The Even more extensive Phase Two

First job of removing the mid cross member went well, more bolts snapped than undid but it came free.
I took a view that is would be best to cut the ends off the cross member to aid getting them out.


But even after cutting both ends off I could remove it! I bit of research and I realised that the rear body would need to be lifted to get the old one out and the new one in!
After much thought I decided I may as well remove the whole rear section, this would have the benefit of me being able to clean and wax the chassis underneath and paint all sections of the rear tub while its off the vehicle....... so it seams there is a lot of work to do.
First off I removed the rear doors and roof.


Next off was the rear door and side windows.


Next off was the drivers side sill. 


And that brings the weekend to a close. All in all a very productive weekend even if I'm doing more work then I hoped.

Sunday, 2 October 2011

Continuing of Phase Two

Well Phase Two has evolved some what into a more intrusive phase than first anticipated. As I was taking the seat box out I decided that it would be best to remove the rear floor at the same time and paint all removed items. It also seems to be an ideal time to wax some more of the chassis as it's exposed.......


First Job was to clean the chassis ready for treatment.
Next up I covered items I didn't want covered in wax and sprayed the chassis in rust converter.
Next the chassis was waxed up and completed.
I did notice after that the pressure washing a large chunk of rust was on the floor around the area of the rear doors, i had a look and found that the mid cross member is rusted through. So first job at the weekend is not remove this and replace with new.
Between coats I prepped the seat box, bulkhead and floor for painting by cleaning, sanding and filling.

Monday, 26 September 2011

MOT ready and Second Stage

It's been a while but I'm ready to start in the next stage; Stage 2 - Security I will also tie up a few loose ends to ensure the Defender gets through its overdue MOT.
Job to complete include:
MOT:
Hand Brake
Horn
Main Beam Flash
Security:
Install Security items
Remove, repair and paint floor / seat box (Epsom Green)
Clean and rustproof chassis (While its exposed)
Install new cubby box
First job was to replace the drum brake with a new X Engineering Disc handbrake. So I put the defender up on the ramps to aid access underneath the Defender.


The new Hand Brake from X Engineering

I then started to remove the old unit.

Out with the old....


In with the new.......

Next task was to strip out the floor (mid way through I realised fitting the new brake after this stage would have made the whole process much easier! Oh well).

Well that concludes two days worth of work, lets see what the week brings......

Tuesday, 7 June 2011

Bulkhead swap - Finished!

Well after all the hard work, manic weekends, late week nights the job is done; bulkhead swapped.


Over last weekend and some of this week here is what I've completed:
Top up all fluids
Bleed the clutch
Bleed the brakes
Solved the high beam light issue
Rewired the audio
Fitted door cards


Fitted the wheel arches


The screen was fitted buy nation wide. I opted for a legal tint, heated screen. Just need to wire in the heated part at a later date.


Fitted the new(er) bumper.


Installing airbox and putting the engine back to how it's meant to be by removing the LPG inlets and put back the breathers into the base of the carbs, sealing inlet manifolds and clipping all pipe work.


Mounting the coil.


Here's the finished job, inside.


From the outside


The new audio.


There is one job left: install the side repeaters - but this can wait for a bit untill I can afford new ones.


I have also found that my Defender has 4 sepearate oil leaks! Transfer box, gear box, sump and just behind the oil filter. So even more jobs!
On too the next stage (cash permiting).